Easy Crochet Lacy Granny Square Free Step-by-Step Pattern
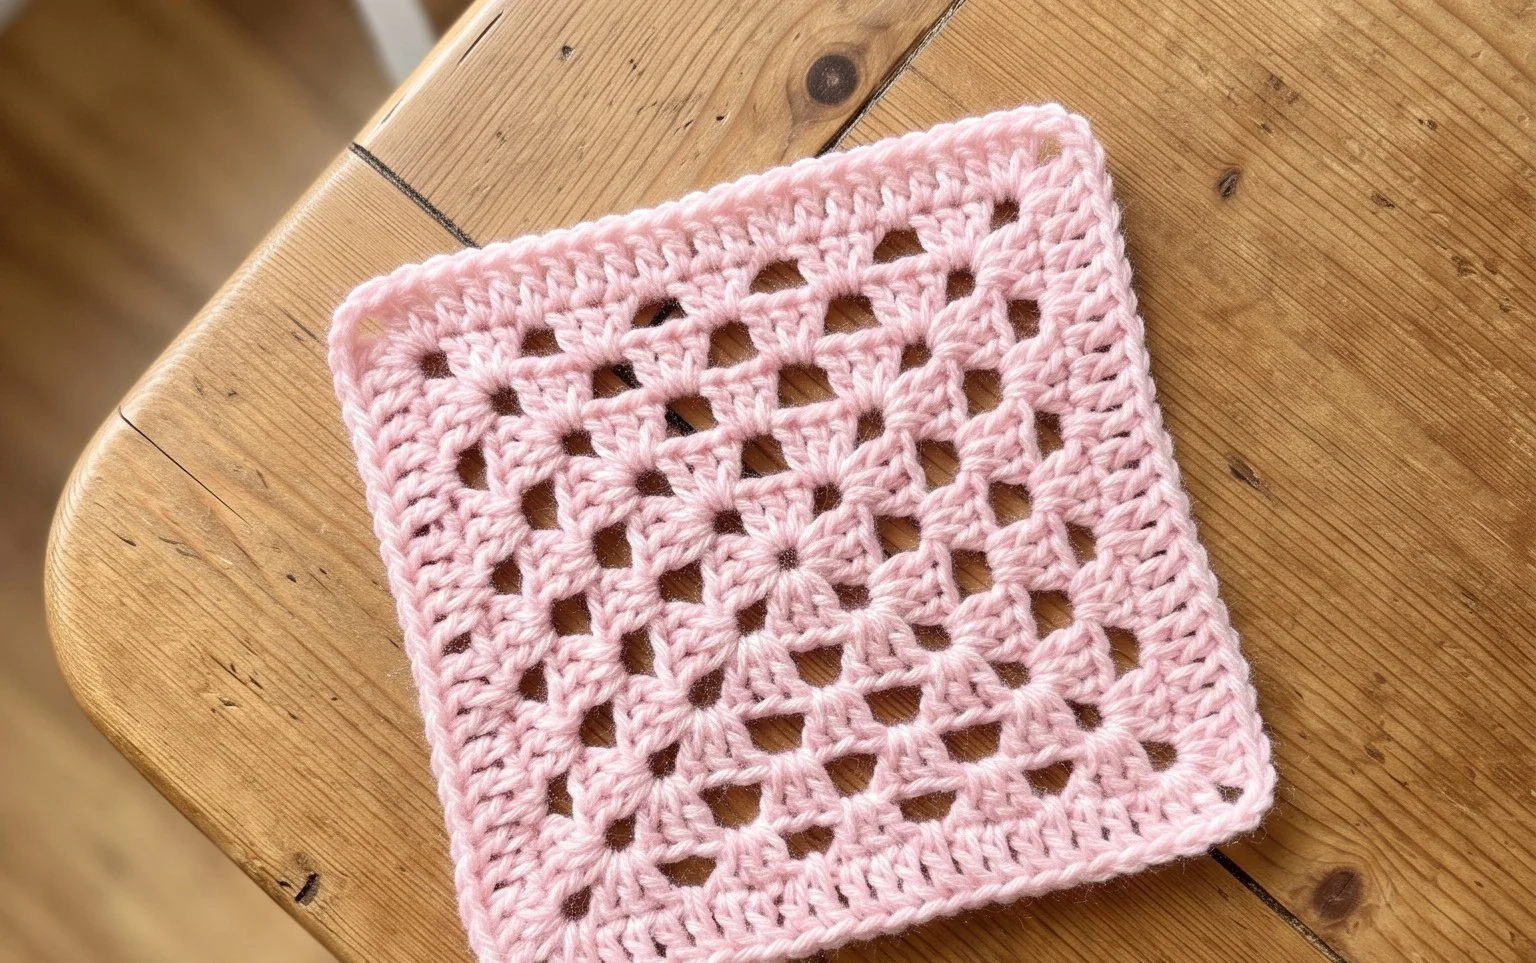
Openwork loops and soft wool create a delicate fabric that catches the light through its open, breathable holes. This design uses simple chains and double crochet stitches to build a light, airy square that feels light in your hands. Beginners enjoy this project because it builds confidence quickly without requiring complex counting or tricky maneuvers. It fits perfectly into home decor projects like light summer shawls or breezy decorative cushions. By learning how to space your chains correctly, you gain the skills needed to move toward more open designs, making this a rewarding piece for anyone wanting to expand their handmade collection.
Why This Project Is Worth Making
The Classic Crochet Granny Square is the fundamental building block for countless blankets, bags, and garments. This project is ideal for developing consistent tension because the repeat is short and rhythmic. You can complete a single square in less than thirty minutes, making it a productive way to use small amounts of leftover yarn. The modular nature of this pattern means you can stop whenever you reach your desired project size, whether you are creating a coaster or a full-sized heirloom afghan.
I struggled with keeping my edges straight until I started practicing these squares. They are incredibly satisfying to join together and look great in both solid colors and variegated yarns.
— Sarah, hobbyist crafter
Pattern Overview & Skill Level
- Skill Level: Beginner
- Approximate Time: 20 to 30 minutes per square
- Construction: Worked in joined rounds, starting from the center and moving outward
- Finished Dimensions: Approximately 5 inches by 5 inches using the recommended materials
Materials & Supplies Needed
- Yarn: Worsted weight (#4) acrylic or wool blend, approximately 15 yards per square.
- Hook Size: 5.0 mm (US H-8) crochet hook.
- Notions: Tapestry needle for weaving in ends, scissors, and a measuring tape.
- Yarn Substitutions: You can use DK weight yarn with a 4.0 mm hook for a smaller, tighter square, or bulky weight yarn with a 6.0 mm hook for a larger, quicker square. Adjusting yarn weight will change the final dimensions of the project.
Stitch Guide & Abbreviations (US Terms)
- ch: Chain
- sl st: Slip stitch
- dc: Double crochet
- dc cluster: A group of 3 dc stitches worked into the same space
- sp: Space
- MR: Magic Ring
- st/sts: Stitch/stitches
Step-by-Step Pattern Instructions
Granny Square Body
The square is worked in continuous rounds, joining at the end of each round to maintain the shape.
- Round 1: Start with a MR. Ch 3 (counts as first dc), work 2 dc into the ring, ch 2, 3 dc, ch 2 3 times. Join with a sl st to the top of the beginning ch-3. (12 dc, 4 ch-2 spaces)
- Round 2: Sl st into the next 2 sts and into the first ch-2 corner sp. Ch 3, 2 dc, ch 2, 3 dc in the same corner sp. Ch 1, skip 3 dc, (3 dc, ch 2, 3 dc) in the next ch-2 corner sp 3 times. Ch 1, join with a sl st to the top of the beginning ch-3. (24 dc, 4 ch-1 spaces, 4 ch-2 corner spaces)
- Round 3: Sl st into the next 2 sts and into the corner ch-2 sp. Ch 3, 2 dc, ch 2, 3 dc in the corner sp. Ch 1, 3 dc in the next ch-1 side sp, ch 1, (3 dc, ch 2, 3 dc) in the next corner sp 3 times. Ch 1, 3 dc in the final side sp, ch 1, join with a sl st to the top of the beginning ch-3. (36 dc, 8 ch-1 spaces, 4 ch-2 corner spaces)
- Round 4: Sl st into the next 2 sts and into the corner sp. Ch 3, 2 dc, ch 2, 3 dc in the corner sp. Ch 1, (3 dc in the next ch-1 sp, ch 1) twice, (3 dc, ch 2, 3 dc) in the next corner sp 3 times. Ch 1, (3 dc in the next ch-1 sp, ch 1) twice, join with a sl st to the top of the beginning ch-3. (48 dc, 12 ch-1 spaces, 4 ch-2 corner spaces)
Finishing
Fasten off the yarn, leaving a 6-inch tail. Pull the tail through the loop and tighten. Use the tapestry needle to weave the tail back and forth through the back loops of the stitches on the reverse side of the square to secure it.
Care & Washing Instructions
- Machine wash your finished item on a gentle cycle in cold water with mild detergent.
- Lay the item flat on a clean towel to air dry, ensuring it is shaped correctly while damp.
- If the square appears slightly warped, use a steam iron held a few inches away to lightly block the edges into a sharp square shape.
Pro Tips & Common Mistakes to Avoid
Maintain consistent tension by holding your yarn with the same amount of pull throughout the entire project. If your squares are curling, your tension might be too tight; try moving up to a larger hook size to allow the stitches more room to breathe. Always place a stitch marker in the first stitch of every round to easily identify where to join your slip stitch. When weaving in your ends, ensure you catch the yarn under the stitches in at least two different directions so the tail does not wiggle loose over time.
Frequently Asked Questions
Can I make this square larger?
Yes, you can continue adding rounds by repeating the pattern established in Round 4. Simply place 3 dc, ch 2, 3 dc in each corner and 3 dc in every side chain space, separated by a ch 1.
Is this pattern suitable for complete beginners?
This is an excellent beginner project because it only requires chains, slip stitches, and double crochets. It teaches you how to work in the round and how to identify corner spaces.
Can I sell items made from this pattern?
You are welcome to sell finished products created from this design. Please credit the original pattern designer when listing your items online.
Why do my edges look wavy instead of straight?
Wavy edges usually indicate that you are adding too many stitches on the sides. Count your stitches after every round to ensure you are only placing 3 dc in the side chain spaces and not skipping the corner instructions.
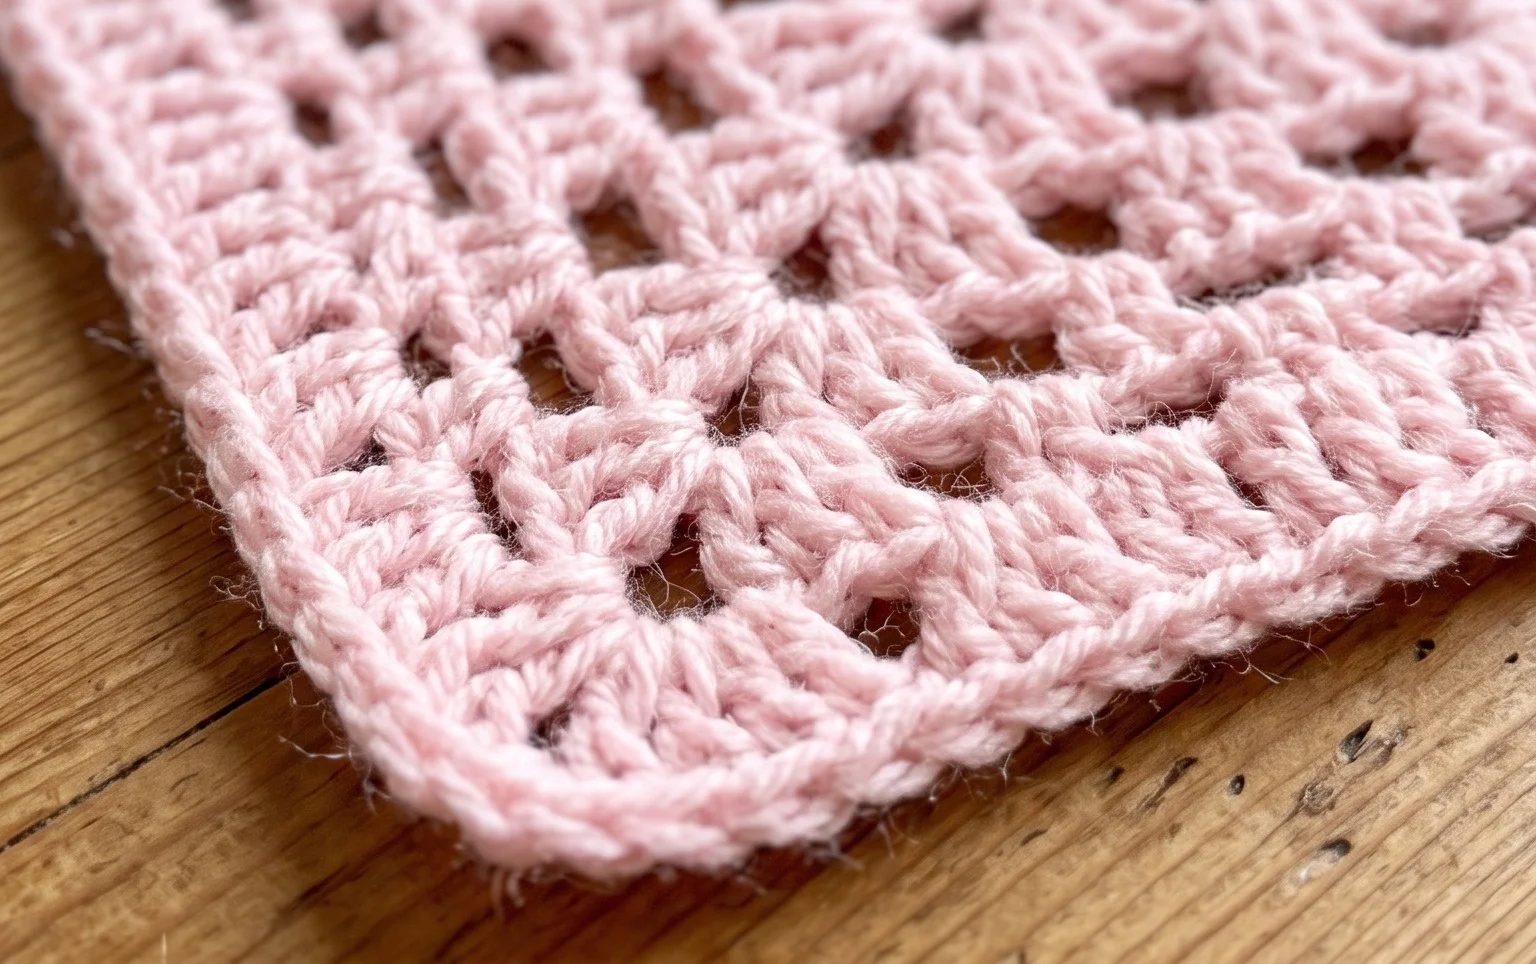
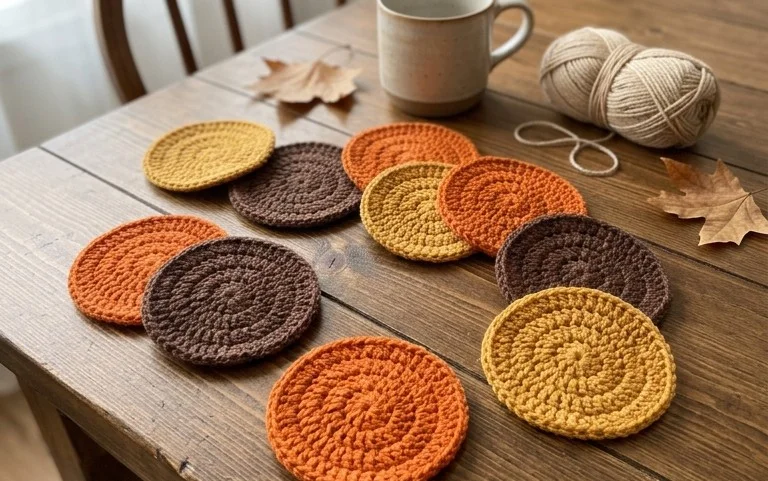
Seeing your handmade stack of finished squares resting on the table creates a genuine sense of accomplishment for any maker. You can swap the worsted weight yarn for a fine cotton thread to turn these blocks into a delicate vintage doily for your nightstand. Posting a photo of your color choices on social media helps other creators see how different shades change the mood of the work. Check out the rest of the site for more free patterns to keep your hands busy with new designs.