Easy Christmas Tote Bags: Free Beginner Crochet Pattern
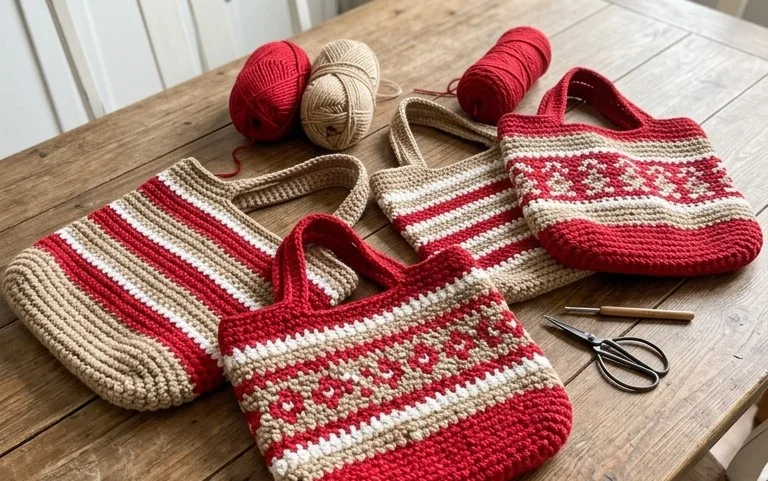
Soft cotton yarn twisted into dense, rounded sides creates a holiday container that holds its shape on a cluttered desk or under a tree. This project provides a satisfying sense of accomplishment for anyone starting their first handmade gift or home decor collection. You will rely on the tight single crochet stitch, which creates a firm fabric capable of standing on its own without losing form. Whether you need a festive holder for candies or a durable sack for gathering ornaments, this design offers a clean look. You will learn to manage tension while working in continuous, spiraling rounds to achieve smooth surfaces.
Why This Project Is Worth Making
This beginner-friendly project creates a structured, durable crochet basket using the tight single crochet stitch, which provides the necessary rigidity for holding household items. The design utilizes a flat circular base that transitions into straight sides, resulting in a clean, minimalist silhouette that stands upright without collapsing. Because it works up rapidly using a larger hook and thicker yarn, you can complete this basket in a single afternoon. It serves as a practical solution for organizing yarn scraps, stationery, or small bathroom essentials while adding a handmade touch to your living space.
I managed to finish this basket in just two hours and it is sturdy enough to hold all my loose crochet hooks on my nightstand.
— Sarah, hobbyist maker
Pattern Overview & Skill Level
- Skill Level: Beginner
- Approximate Time: 2 to 3 hours
- Construction: Worked in continuous rounds from the bottom center outward, then up the sides.
- Finished Dimensions: 6 inches in diameter and 5 inches in height.
Materials & Supplies Needed
- Yarn: Super Bulky #6 weight, 100% cotton or acrylic blend, approximately 120 yards.
- Hook Size: 8.0 mm (L-11).
- Notions: Stitch marker to track the start of rounds, tapestry needle for weaving ends, and scissors.
- Safe yarn substitutions: Two strands of Worsted #4 weight yarn held together can be substituted for a single strand of Super Bulky yarn. This may slightly alter the stiffness, so check your gauge and increase or decrease hook size if the fabric feels too loose.
Stitch Guide & Abbreviations (US Terms)
- MR: Magic Ring
- ch: Chain
- sc: Single crochet
- inc: Increase (work 2 sc in the same stitch)
- sl st: Slip stitch
- st(s): Stitch(es)
- BLO: Back Loop Only—inserting the hook only under the back loop of the V-shape at the top of the stitch.
Step-by-Step Pattern Instructions
Basket Base
- Rnd 1: Work 6 sc into a MR. Pull the tail tight to close the center (6 sts).
- Rnd 2: Work 2 sc in each st around (12 sts).
- Rnd 3: 1 sc in next st, inc in next st repeat from * to * 6 times (18 sts).
- Rnd 4: 1 sc in next 2 sts, inc in next st repeat from * to * 6 times (24 sts).
- Rnd 5: 1 sc in next 3 sts, inc in next st repeat from * to * 6 times (30 sts).
- Rnd 6: 1 sc in next 4 sts, inc in next st repeat from * to * 6 times (36 sts).
Basket Sides
- Rnd 7: Work 1 sc in BLO of every st around (36 sts). This creates the sharp corner for the base.
- Rnds 8–18: Work 1 sc in both loops of every st around. Ensure you move your stitch marker to the first stitch of every round to keep track (36 sts).
- Finishing: Sl st into the next stitch to smooth the transition. Fasten off yarn, leaving a 6-inch tail. Pull the tail through the final loop and weave the end securely into the interior of the basket using a tapestry needle.
Care & Washing Instructions
- Hand wash the basket in cool water with a mild detergent to maintain the shape of the cotton or acrylic fibers.
- Gently squeeze out excess water with a towel; do not wring or twist the item to prevent distortion.
- Lay the basket flat on a clean surface or drying rack and reshape it while damp, letting it air dry completely before use.
Pro Tips & Common Mistakes to Avoid
Maintain consistent tension throughout the project; if your stitches are too loose, the basket will sag instead of standing upright. Always use a stitch marker at the start of each round, as it is easy to lose count when working in a continuous spiral. Weave your ends into the interior of the basket by passing the needle under the stitches on the inside, ensuring the knots are not visible from the exterior. If you wish to make the basket larger, add more increase rounds at the base and adjust the side rounds accordingly, but keep in mind that you will need more yarn as the surface area increases.
Frequently Asked Questions
Can I use a smaller hook size than recommended?
Using a smaller hook will create a tighter, denser fabric that stands up well, but it may require more physical effort and a slightly higher yardage of yarn to reach the same finished size.
Is this pattern suitable for complete beginners?
Yes, this pattern uses only the single crochet stitch and simple increases, making it a perfect project for those who have just learned the basic mechanics of working in the round.
How do I adjust the height of the basket?
You can add or remove rounds during the side section of the instructions. Simply stop when the basket reaches your desired height and finish with the slip stitch instruction provided.
Am I allowed to sell baskets made from this pattern?
You may sell the finished items you create, but please ensure you credit the original design and use your own photographs to represent your work.
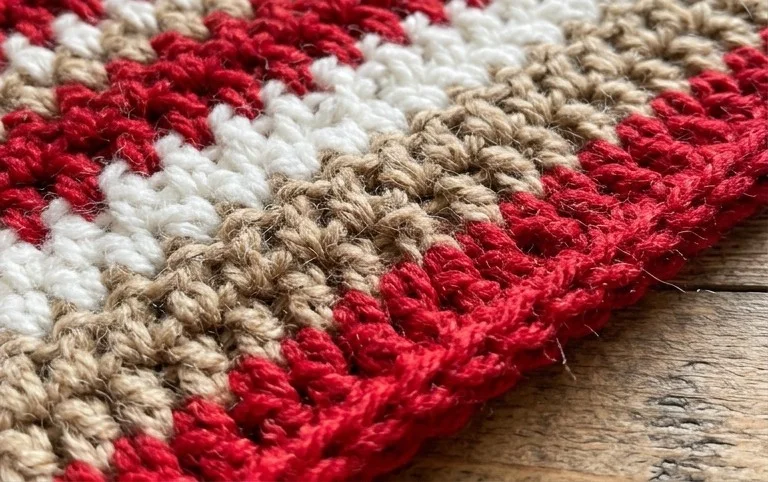
Seeing your finished project filled with seasonal treats or small notions provides a wonderful sense of warmth during the busy winter months. Try working yours in a deep forest green or bright peppermint red to suit your specific holiday decor theme. I love seeing the creative variations you come up with, so please share a photo of your work on your favorite social media site. You can find more free patterns and seasonal hobby inspiration by browsing the other archives here on the blog.