Easy Fair Isle Heart Hat: Free Crochet Step-by-Step
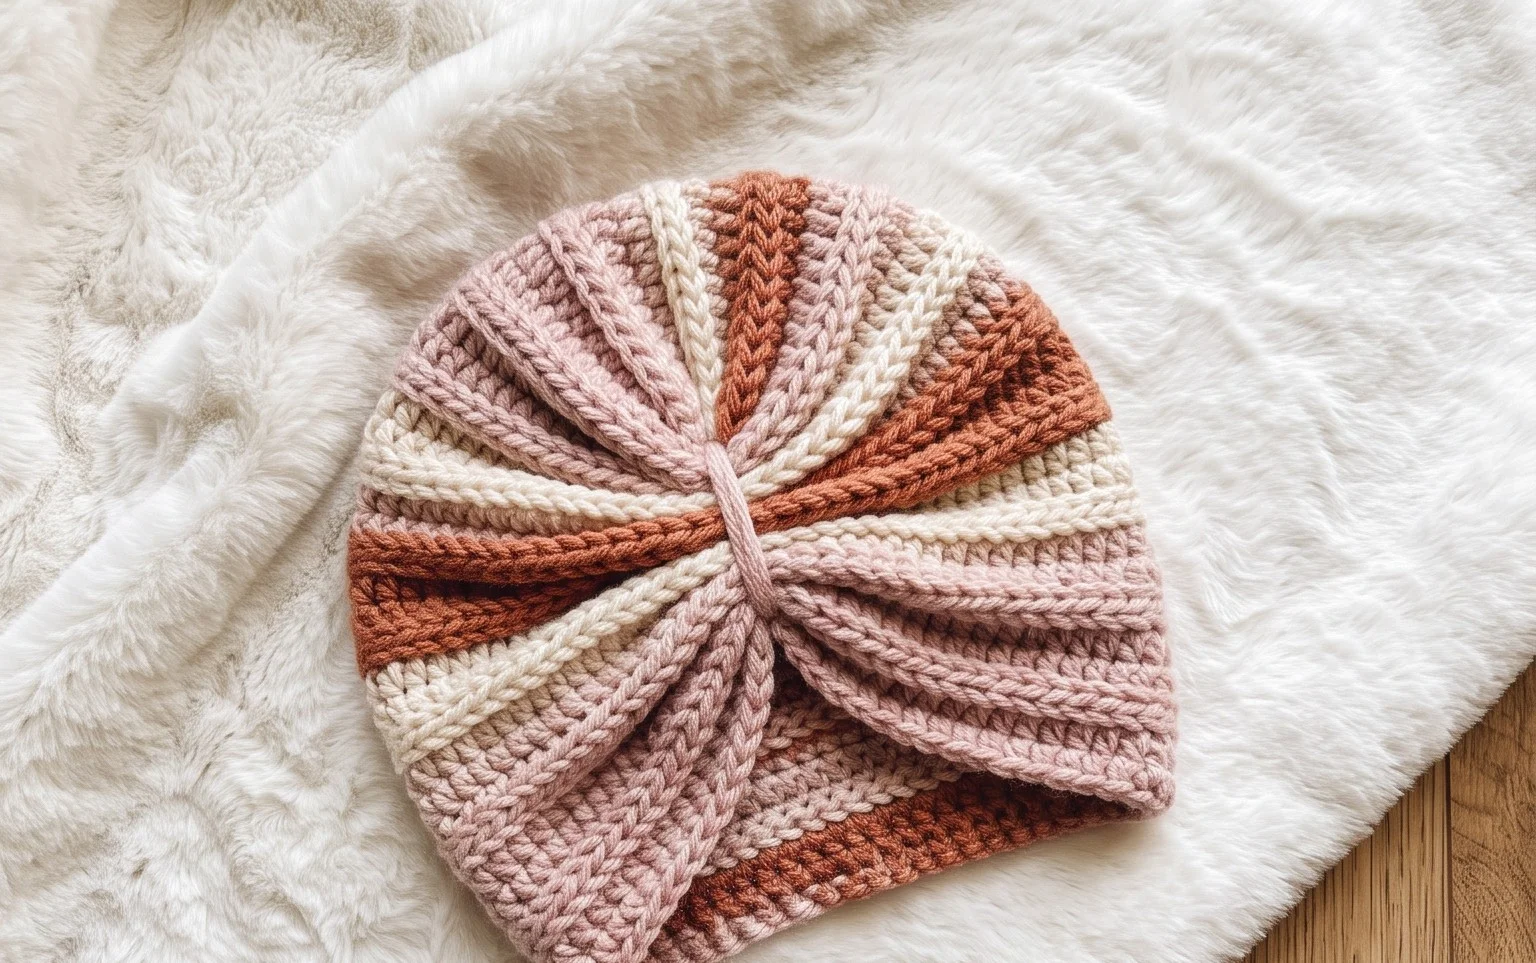
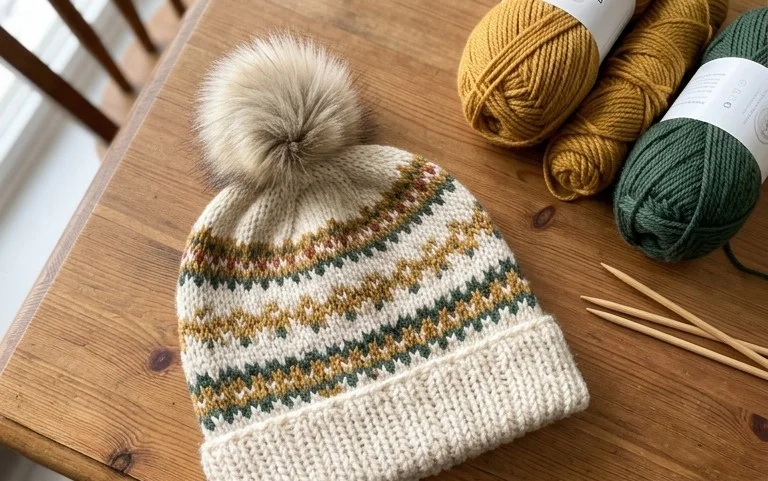
A soft, ribbed beanie with subtle heart detailing brings a cozy, handmade touch to any winter wardrobe. This project creates a dense, warm fabric that feels substantial against the skin while remaining flexible enough for comfortable daily wear. Beginners often find this pattern approachable because it avoids the challenge of working in the round, opting instead for a flat, seamed rectangle construction. You will use basic stitches to form a clean, professional finish that hides the joining seam effectively. Whether you are crafting a heartfelt gift for a friend or expanding your own accessory collection, the rhythmic repetition makes for a deeply satisfying afternoon of crochet work.
Why You’ll Love This Pattern
This classic crochet beanie works up quickly using a simple ribbed texture that creates a naturally stretchy fabric. Because it is crocheted from the bottom up in a flat rectangle before being seamed into a tube, it is an ideal project for those who find working in continuous rounds intimidating. The resulting fabric is dense and warm, making it a reliable choice for chilly weather or as a thoughtful handmade gift for friends and family. You only need to know how to work rows back and forth and maintain consistent tension to achieve a professional finish.
I managed to finish this hat in a single afternoon while catching up on my favorite show, and the fit is perfect for a standard adult head size.
— Sarah, hobbyist crocheter
Pattern Overview & Skill Level
- Skill Level: Beginner
- Approximate Time: 3 to 5 hours
- Construction: Worked flat in rows to create a rectangle, then seamed to form a tube with a gathered top.
- Finished Dimensions & Sizing: 18 inches circumference (unstretched) by 9 inches tall, fits most adults.
Materials & Supplies Needed
- Yarn: Worsted weight (#4), 100% acrylic or wool blend, approximately 200 yards.
- Hook Size: 5.5 mm (US I-9).
- Notions: Tapestry needle for seaming and weaving in ends, locking stitch markers, and a tape measure.
- Safe Yarn Substitutions: Cotton yarn will result in a heavier, less stretchy hat. If you use a lighter weight yarn, you will need to add more starting chains to reach the desired height and increase the number of rows to match the 18-inch circumference.
Stitch Guide & Abbreviations (US Terms)
- ch: Chain
- st/sts: Stitch/stitches
- sc: Single crochet
- BLO: Back loop only (insert hook under only the back loop of the stitch).
- sl st: Slip stitch
- Turn: Turn your work to begin the next row.
Step-by-Step Pattern Instructions
Main Hat Body
You will work the hat as a flat rectangle, then fold it to create the tube shape.
- Row 1: Ch 36. Starting in the second ch from the hook, work 1 sc in each ch across. Turn. (35 sts)
- Row 2: Ch 1, working in BLO, work 1 sc in each st across. Turn. (35 sts)
- Rows 3–60: Repeat Row 2 until the piece measures approximately 18 inches when slightly stretched. Do not fasten off.
Seaming and Finishing
- Seaming: Fold the rectangle in half so the short ends touch. Slip stitch through the back loop of the foundation chain and the back loop of the final row simultaneously to join the edges. Fasten off, leaving a 12-inch tail.
- Closing the Top: Thread the long tail onto your tapestry needle. Weave the yarn in and out along the top edge of the tube. Pull the tail tightly to gather the top of the hat closed. Secure with a few knots on the inside.
- Weaving Ends: Turn the hat right side out and weave in any remaining loose yarn tails securely into the interior fabric.
Care & Washing Instructions
- Hand wash your finished hat in cool water using a mild wool-safe detergent to preserve the fibers.
- Lay the item flat on a clean towel to air dry; avoid hanging it, as the weight of the water can cause the stitches to stretch and lose shape.
- If the hat looks slightly uneven after washing, gently reshape it while damp and allow it to dry completely in its intended form.
Pro Tips & Common Mistakes to Avoid
Maintain consistent tension throughout the project by keeping your yarn grip relaxed; if your stitches are too tight, the fabric will become stiff rather than stretchy. Use a stitch marker on the first stitch of every row to ensure you do not accidentally skip stitches at the edges, which would lead to a tapered or uneven rectangle. When weaving in your ends, run the needle through the stitches in multiple directions to lock the yarn in place, preventing the seam from unraveling over time. To adjust the size of the hat for a larger or smaller head, simply add or subtract rows of the pattern, keeping in mind that each row adds approximately 0.3 inches to the overall circumference.
Frequently Asked Questions
Can I use a different yarn weight for this pattern?
Yes, but it will significantly change the size and drape of the finished item. Using a thicker yarn will require fewer rows to reach the target width, while a thinner yarn will require more rows and a smaller hook size to maintain density.
Is this project suitable for a total beginner?
This pattern is excellent for beginners because it uses only two basic techniques: the single crochet stitch and working in the back loop only. These skills are fundamental to many intermediate-level projects.
How do I adjust the height of the beanie?
To make the hat taller or shorter, simply change the number of chains at the beginning of your project. Each chain corresponds to one stitch of height in the final hat.
Am I allowed to sell hats made from this pattern?
You are welcome to sell physical items produced using this pattern. Please credit the original design when listing your handmade products online or at craft markets.
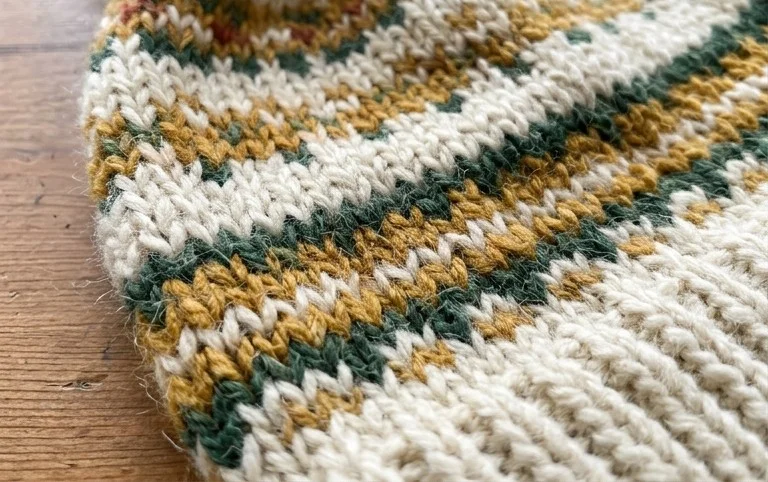
Your finished beanie provides a warm, snug fit that keeps the cold at bay all season long. You can customize the look by swapping the heart colors for a contrasting neon yarn or adding a large faux fur pom-pom to the crown for extra flair. Posting a photo of your work on social media helps other makers find inspiration for their own versions. If you enjoyed this project, visit the rest of the blog for more beginner-friendly patterns and seasonal crochet ideas to add to your queue.