How to Make Fluffy Pom Poms: Free Beginner Crochet Guide
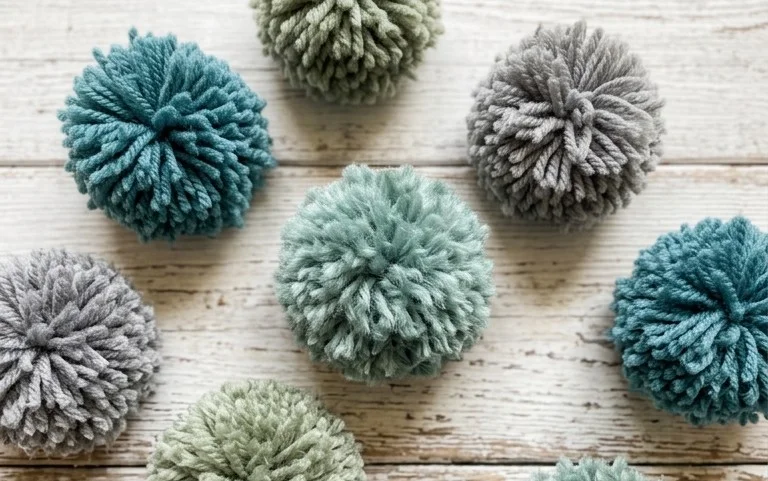
A dense, springy pom pom adds a polished finish to any handmade accessory, transforming a basic beanie into a standout winter gift. This simple project is approachable for complete beginners who want to move beyond flat stitches, offering a satisfying way to use up those small, lonely yarn scraps lingering in your basket. You will learn the exact method for achieving maximum volume regardless of the fiber content or weight of your stash. The resulting pom poms feel firm, round, and professional, making them a reliable choice for everything from holiday presents to playful home decor accents.
Why You’ll Love This Pattern
This crochet ribbed beanie pattern uses a simple rectangular construction that relies on half double crochet stitches worked in the back loops. The resulting fabric is stretchy, dense, and remarkably warm, making it a reliable choice for chilly winter days. You only need to master one basic stitch to achieve the professional look of a store-bought hat. Because the project works in back-and-forth rows, you can easily put it down and pick it back up without losing your place in a complex round-based pattern. It serves as an excellent stash-buster for medium-weight yarn leftovers.
I finished this hat in one evening while watching a movie. The ribbed texture looks very high-end and the fit is perfect for a standard adult head size.
— Sarah, hobbyist crocheter
Pattern Overview & Skill Level
- Skill Level: Beginner
- Approximate Time: 3 to 4 hours
- Construction: Worked as a flat rectangle in rows, then seamed along the side and cinched at the top.
- Finished Dimensions: 9 inches wide by 11 inches tall (laying flat, excluding pompom).
Materials & Supplies Needed
- Yarn: Worsted #4 weight, wool or acrylic blend, approximately 200 yards.
- Hook Size: 5.0 mm / H-8.
- Notions: Tapestry needle for weaving in ends and seaming, stitch markers, pompom maker (optional).
- Safe yarn substitutions: You may use cotton or bamboo blends, though these will result in less elasticity than wool. If using a thinner sport weight yarn, increase your starting chain length to match the desired height.
Stitch Guide & Abbreviations (US Terms)
- ch = chain
- hdc = half double crochet
- BLO = back loop only (insert hook under the back loop of the stitch instead of both loops)
- sl st = slip stitch
- st/sts = stitch/stitches
Step-by-Step Pattern Instructions
Main Hat Panel
- Row 1: Ch 46. Work 1 hdc in the 3rd ch from the hook and in every ch across. Turn. (44 sts)
- Row 2: Ch 2 (does not count as st), hdc in BLO of every st across. Turn. (44 sts)
- Rows 3-60: Repeat Row 2 until the piece measures approximately 18 inches in length when slightly stretched.
Assembly and Finishing
- Fold the rectangle in half so the short ends meet.
- Using the tapestry needle and a long tail of yarn, sl st or whipstitch the two short ends together to form a tube.
- Fasten off, leaving a 12-inch yarn tail.
- Weave the long tail through the top edge of the tube using a running stitch.
- Pull the yarn tightly to gather the top of the hat closed.
- Secure with a knot and weave in all loose ends.
- Attach a pompom to the gathered top if desired.
Care & Washing Instructions
- Hand wash in cool water with a mild wool-safe detergent to maintain the integrity of the fibers.
- Lay the item flat on a clean towel to air dry, as hanging may stretch the ribbed fabric out of shape.
- Avoid using a clothes dryer, which can cause the acrylic or wool blend to shrink or lose its bounce.
Pro Tips & Common Mistakes to Avoid
Maintain consistent tension throughout the rows to ensure the ribbing looks uniform. Using a stitch marker at the start of every row prevents you from accidentally skipping the final stitch, which often happens with BLO work. Weave in your yarn tails along the ribbing ridges using a vertical motion to keep the repair invisible on the outside of the hat. If you want a slouchier fit, simply add more rows to the main panel; note that this will require approximately 20 extra yards of yarn for every two inches added.
Frequently Asked Questions
Can I make this hat larger for a different head size?
Yes. Simply add more chains at the start to increase the height of the hat or add more rows to increase the circumference to fit your specific measurement.
Is this pattern suitable for someone who has never crocheted before?
Absolutely. It focuses on the half double crochet stitch and back loop technique, which are foundational skills that provide immediate visual feedback.
Can I sell the hats I make from this pattern?
Check the specific terms of use provided by your yarn brand or source material, but generally, independent designers allow the sale of small-batch finished items if you credit the designer.
Why does my hat look uneven at the edges?
Uneven edges usually result from missing the first or last stitch of a row. Always count your stitches at the end of each row to ensure you have exactly 44 stitches before turning.
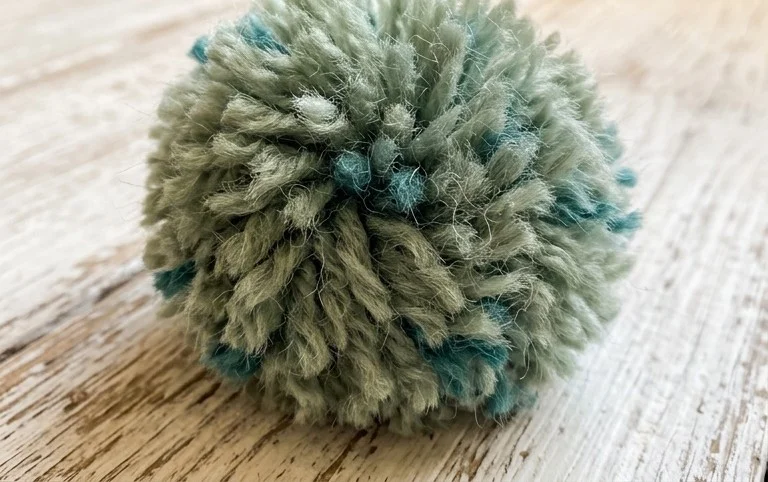
Your new finished hat feels warm and looks like a boutique purchase with that bouncy, handmade topper sitting right on top. You can experiment with using two different colors of yarn held together for a unique, marled effect that adds depth to your winter gear. When you finish your project, share a photo of your work on Instagram so I can see how it turned out. Check out the archives on my blog for more free patterns that utilize your remaining yarn leftovers to create beautiful gifts.