Easy Crochet Amigurumi Pattern: Free Step-by-Step Guide
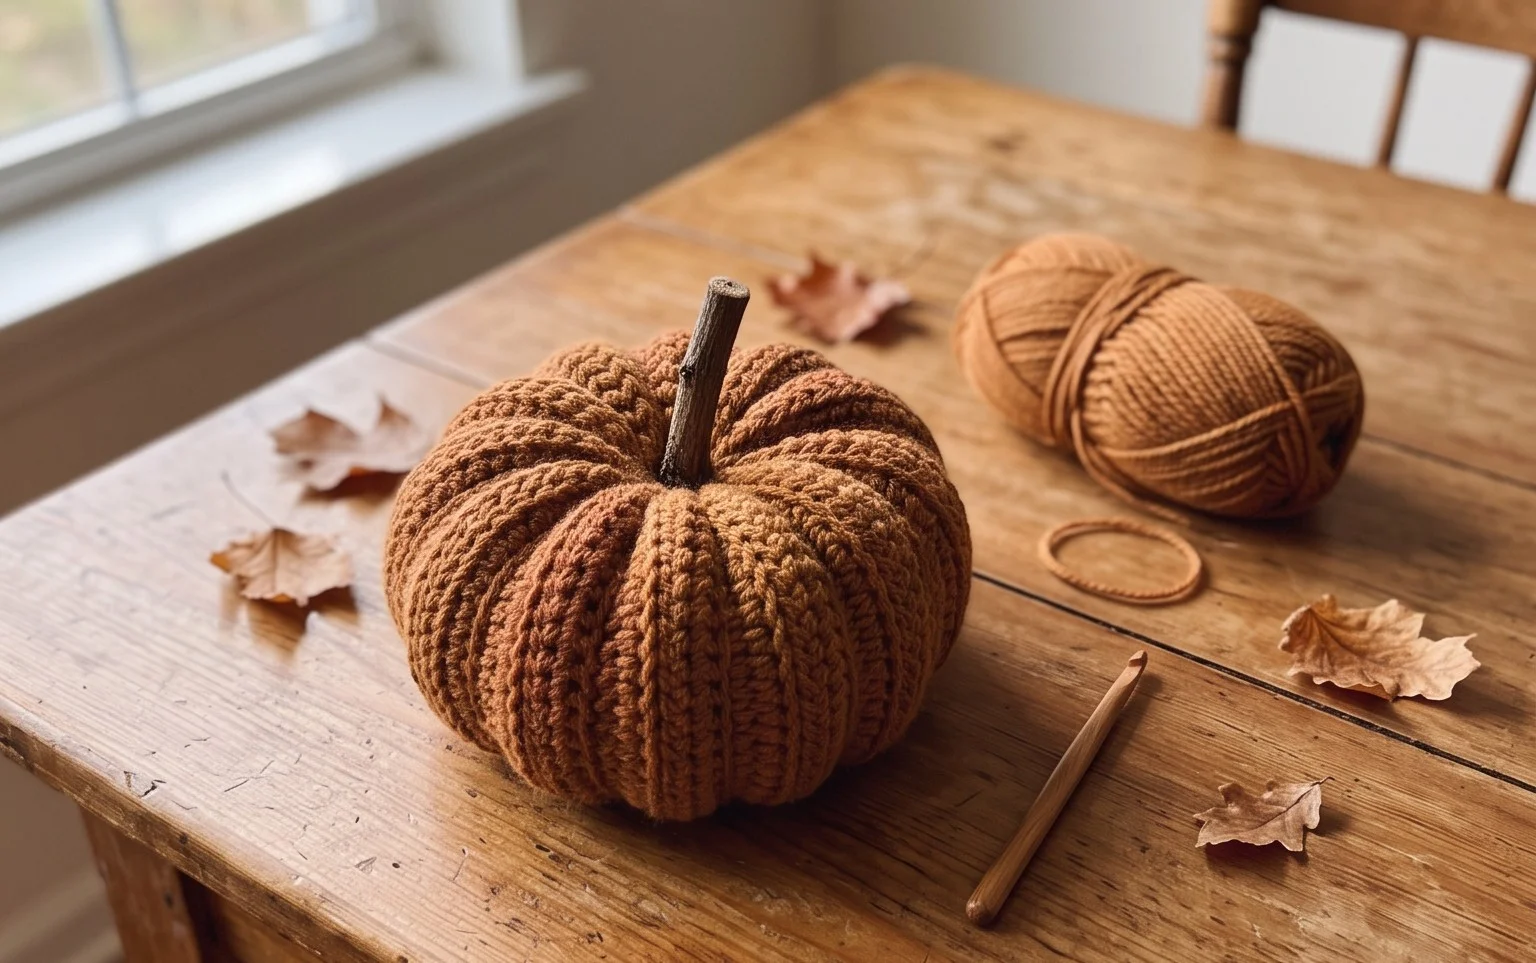
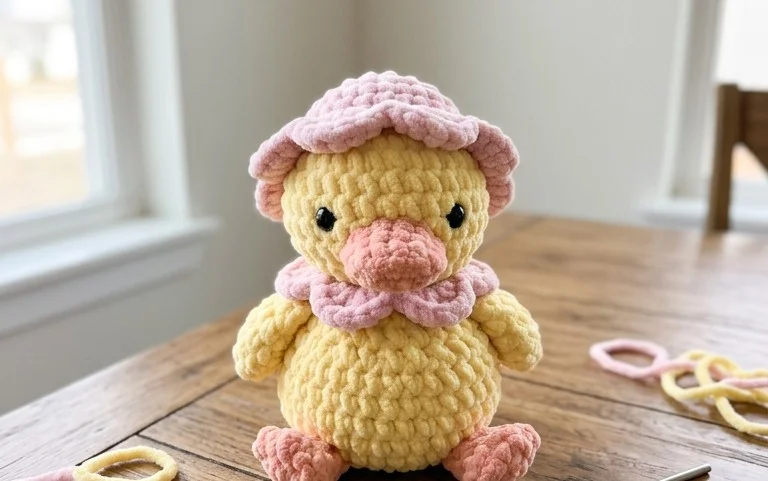
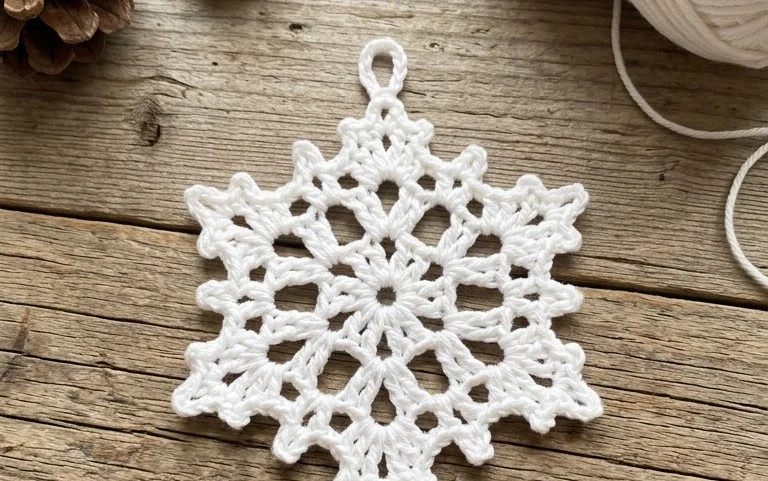
This small ornament sits firmly on a desk with a smooth, dense surface that feels sturdy in your hand. Beginners often appreciate how quickly the single crochet stitches come together to form a polished shape without any visible joins or messy color changes. Making these pieces provides a quiet, rhythmic way to spend an afternoon when you have a bit of leftover yarn waiting in your basket. You will master working in a continuous spiral while learning to manage increases and decreases for a balanced finish. It is a rewarding project for anyone who enjoys quick results and functional decor.
Why Crocheters Love It
This beginner-friendly project works up in under two hours, making it an ideal choice for last-minute handmade gifts or stocking stuffers. The pattern relies on basic single crochet stitches worked in a continuous spiral, which removes the need for visible seams or complex joining techniques. Because it uses less than 50 yards of yarn, it serves as a practical way to use up leftover scrap skeins from larger blankets or sweaters. The resulting structure is firm enough to hold its shape as a desktop ornament while remaining soft enough to handle easily.
I managed to finish three of these in one afternoon while watching a movie. The instructions were very easy to follow and my stitch counts were accurate every time.
— Sarah, amigurumi enthusiast
Pattern Overview & Skill Level
- Skill Level: Beginner
- Approximate Time: 1 to 2 hours
- Construction: Amigurumi-style, worked in continuous rounds starting from a magic ring
- Finished Dimensions: 4 inches tall by 3 inches wide
Materials & Supplies Needed
- Yarn: Worsted weight (#4) acrylic or cotton blend, approximately 40 yards in main color and 10 yards in contrast color.
- Hook Size: 4.0 mm (G-6) crochet hook.
- Notions: Polyester fiberfill stuffing, stitch markers to track round starts, a yarn needle for weaving ends, and scissors.
- Yarn Substitutions: Using a lighter weight yarn (DK or Sport) will result in a smaller finished size, while using bulky weight yarn requires a larger hook size (5.5 mm) to maintain the same stitch density and prevent stuffing from showing through gaps.
Stitch Guide & Abbreviations (US Terms)
- MR: Magic ring
- ch: Chain
- sc: Single crochet
- inc: 2 sc in the same stitch
- dec: Single crochet two stitches together (insert hook, yarn over, pull up loop, insert hook in next st, yarn over, pull up loop, yarn over, pull through all three loops on hook)
- st/sts: Stitch/stitches
- sl st: Slip stitch
Body
- Rnd 1: Start 6 sc in a MR (6 sts).
- Rnd 2: Inc in each st around (12 sts).
- Rnd 3: [1 sc, inc] 6 times (18 sts).
- Rnd 4: [2 sc, inc] 6 times (24 sts).
- Rnd 5: [3 sc, inc] 6 times (30 sts).
- Rnd 6-12: Sc in each st around (30 sts).
- Rnd 13: [3 sc, dec] 6 times (24 sts).
- Rnd 14: [2 sc, dec] 6 times (18 sts).
- Rnd 15: [1 sc, dec] 6 times (12 sts).
- Rnd 16: Dec 6 times (6 sts).
Fasten off, leaving a 6-inch tail. Weave the tail through the front loops of the remaining 6 stitches and pull tight to close the opening. Secure the end and bury the yarn inside the body.
Care & Washing Instructions
- Hand wash in cool water using a gentle liquid detergent to preserve the structure of the stuffing.
- Lay the piece flat on a clean towel and reshape it while damp to ensure it dries in the intended form.
- Do not wring or twist the item, as this can distort the fiber tension and internal shape.
Pro Tips & Common Mistakes to Avoid
Maintain tight tension throughout the project to ensure the stuffing does not peek through the stitches. Use a stitch marker at the start of every round; because this pattern works in a continuous spiral, it is easy to lose track of your location without a marker. When decreasing, use the invisible decrease method—inserting the hook only through the front loops of the next two stitches—to keep the surface smooth and professional. If you decide to adjust the final size, note that adding extra increase rounds will consume significantly more yarn and may require adding additional height to keep the proportions balanced.
Frequently Asked Questions
Can I use cotton yarn instead of acrylic?
Yes, cotton works well for this pattern because it provides a stiff, defined texture. Note that cotton has less stretch than acrylic, so your hands might tire more quickly while maintaining the tight tension required for amigurumi.
What should I do if the stuffing shows through my stitches?
This indicates your hook size is too large for your yarn weight. Switch to a hook that is one size smaller than the one recommended in the materials list to create tighter gaps between the stitches.
How do I adjust the size of this project?
To make the item larger, add more increase rounds at the beginning (e.g., add a round of [4 sc, inc] 6 times for 36 stitches). Ensure you add an equal number of straight rounds in the middle and decrease rounds at the end to maintain the shape.
Am I allowed to sell items made from this pattern?
Please check the specific designer terms included with your pattern download or on the website footer. Most designers allow for the sale of small-batch finished items if credit is given to the original pattern creator.
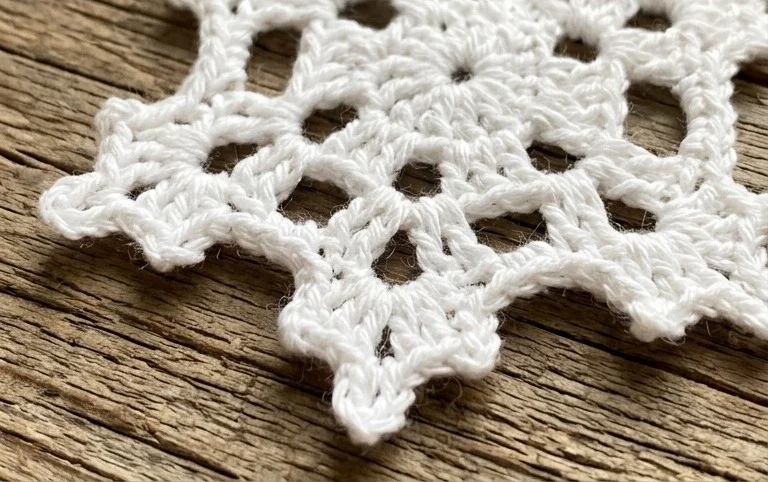
Your finished piece makes a charming addition to a shelf or a thoughtful gift for a friend. You can experiment with velvet yarn for a softer texture or try a variegated colorway if you want a more playful look. Upload a photo of your work to your favorite social media site to show others how you customized the contrast trim. If you enjoyed this project, check the archives for more patterns that use simple techniques to create useful items for your home or office space.